Restoration of the canvas and paint layers
– Packaging and transporting to Piacenti SpA laboratories
– Dismanteling of the painting from the frame and cataloging of parts.
– Most careful dusting of the painted surface and the canvas back using soft brushes and paying special attention to the more vunerable areas of the work.
– Precautionary velinatura of the weak pictorial areas with Japanese tissue paper and animal glue.
– Taking the canvas off the stretcher and removing all nails from the wooden structure, with the utmost care towards subsequent remounting of the painting on the stretcher.
– Consolidation of the colour by applying rabbit skin glue, suitably diluted, to the back of the canvas and subsequent stretching to restore an even surface and strengthening of the work.
– Reglueing of damaged areas of the canvas.
– Renovation of the stretcher;
– Repositioning of the canvas on the restored stretcher, following the insertion of a thin wooden batten of elongated triangular section in form which functions as a cavity, avoiding that the canvas touches the frame.
– Removal of Japanese tissue paper from the painted surface
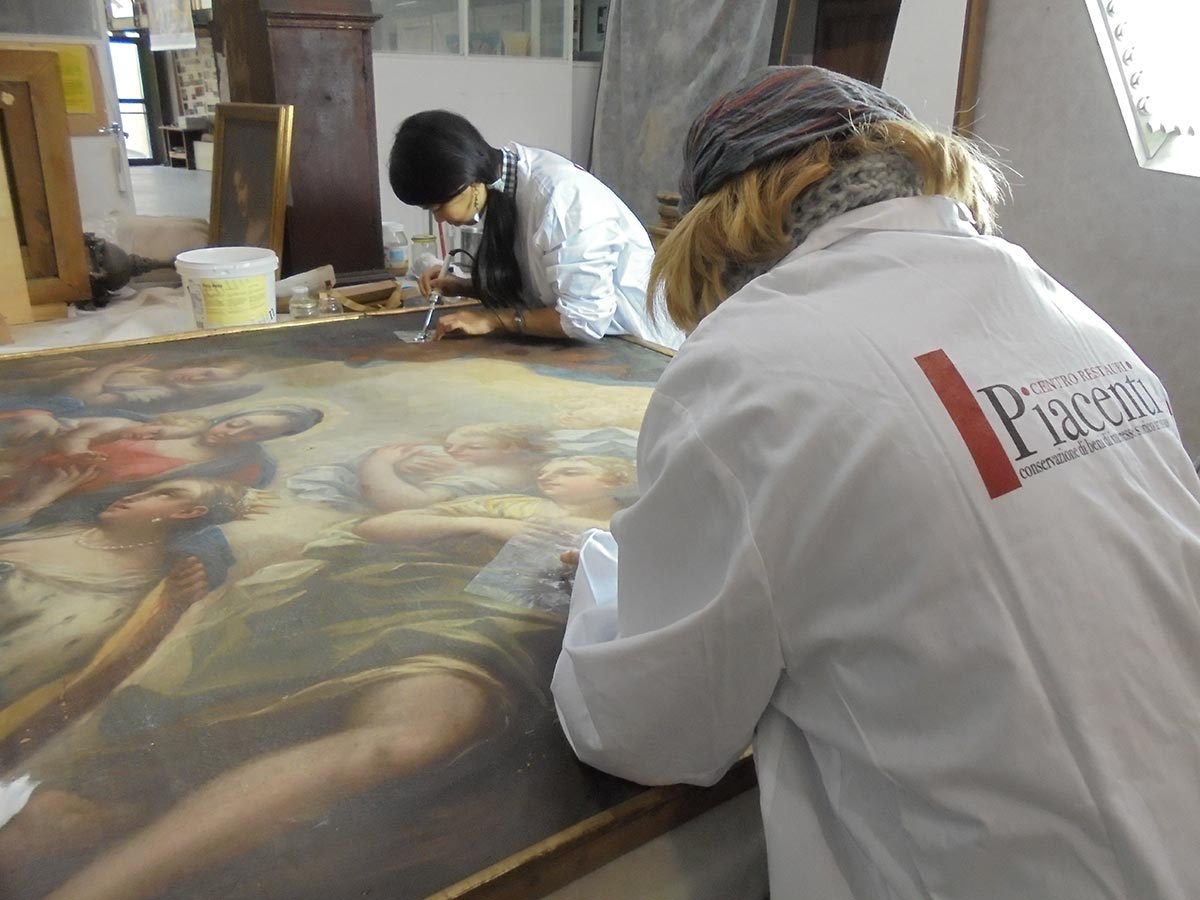
– First stage cleaning: removal of surface deposits by means of coton flocks soaked in surface cleaning agent to disolve greasy substances.
– Second stage of cleaning: following the execution of preliminary tests, a special gel containing suitable solvent that gradually consumes the excess layers of dirt and varnish that impeed a clear vision of the work. The solvent-gel works only on the surface, preventing the solvent to penetrate deeply, enabling a slow gradual advance of the cleaning action. Through the use of this innovative restoration method quality and preservation of the original patina has been made possible. Problems arising over time through oxidation and the natural ageing of the protective varnishes are now more easily handled.
– Grouting all the missing parts and holes was carried out with rabbit skin glue and gold plaster to restore the continuity of the pictorial surface. These parts once dry, were sanded and a special treatment imitating craquelure was carried out to match that of surrounding areas.
– Pictorical retouching
– Final protective varnish is applied.
– Packing and Shipping
Restoration of the stretcher.
– Removal of all old nails and any loose material.
– Dusting the wooden surface with soft brushes and vacuum cleaners and light cleaning to remove the dirt sediment that penetrates into porous wood fibers.
– Pesticidal treatment to eliminate and prevent possible presence of xylophagous insects and wood parasites by soaking the material with appropriate substances.
– Checking the stability of the structure and replacing any necessary fragments with suitably aged wood insets.
– Applying protective substances for conservation.
Restoration of the wooden frame
– Removal of dust and surface deposits with soft brushes and vacuum cleaners. Pesticidal treatment to eliminate and prevent the possible presence of xylophagous insects and wood parasites by coating the wood with appropriate substances.
– Removal of all deposits and incrustations and any unwanted paint by use of surface active products, after carrying out tests to determine the level of cleaning appropriate.
– Checking of the structure and re-integration of missing pieces with suitably aged wood insets.
– The grouting of all gaps, missing peices and holes was carried out with rabbit skin glue and gold plaster so restoring continuity to the painted surface.
– Integration of all the gaps by painting in imitation of surrounding areas.
– Aplication of wax-based protective coating with a brush, then buffing with a soft cloth.
– Reassembly, on site, of the frame and the painting and final retouching of the finished work once reassembled.